Enabling RID with the AeroEgg AGC Ground Station
Initial Configuration 1.1 Flash flight controller firmware that supports RID. Firmware download instructions are outside the scope of this guide.
1.2 Open Connection Settings, select Search under Bluetooth, and connect to your flight controller. AeroEgg AGC supports multiple connection methods; any available method may be used.
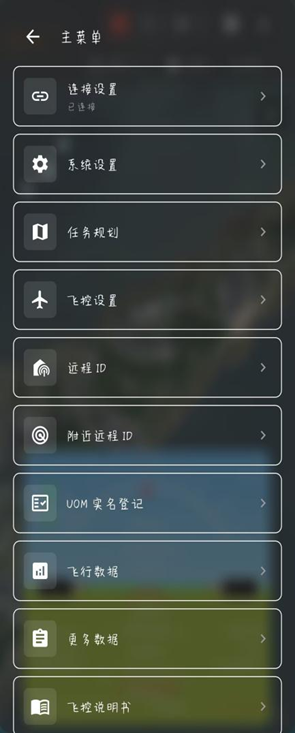
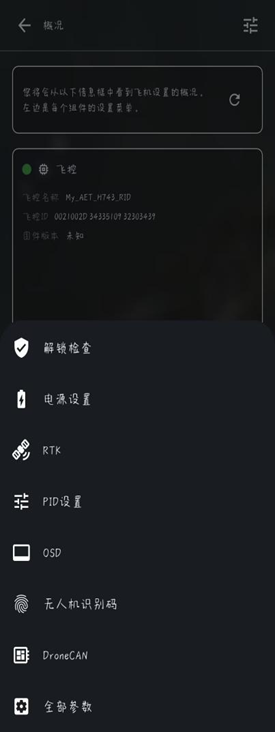
1.3 Open Flight Controller Settings.
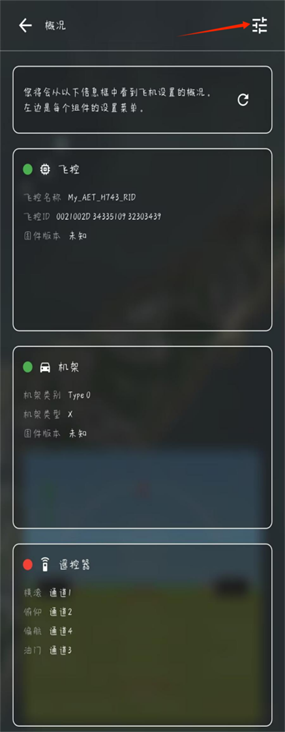
1.4 Click the icon in the upper-right corner.
1.5 Select UAS Identification.
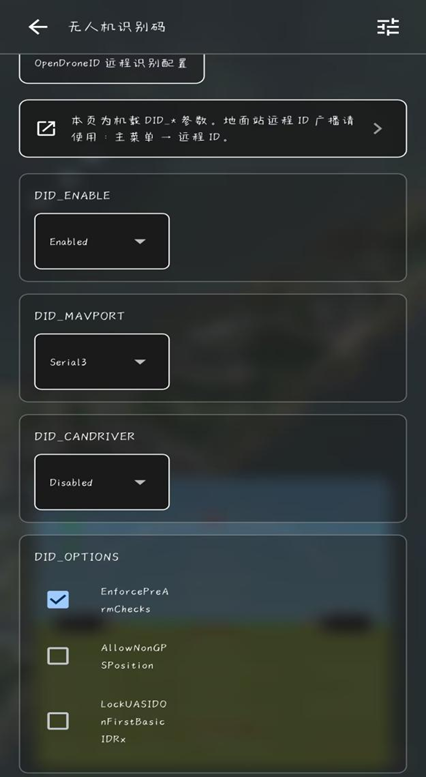
1.6 Set DID_ENABLE to Enabled.
For CAN Communication
Set DID_CANDRIVER to the CAN interface used by the module. Use 1 for CAN1 or 2 if the module is connected to CAN2. Set DID_MAVPORT to -1.
For Serial Communication
Set DID_CANDRIVER to 0 and set DID_MAVPORT to the serial port number used for communication. (Note: Configure the serial port in the Port Settings section on the same UAS Identification screen.)
Enable EnforcePreArmChecks under DID_OPTIONS.
1: EnforcePreArmChecks: Requires valid Remote ID module communication, UAS ID, Operator ID, position data, and other required information before the flight controller can arm. Keep this option enabled to ensure complete functionality.
2: AllowNonGPSPosition: By default, the flight controller requires a valid GPS position before arming. During indoor testing without GPS reception, this option may be enabled temporarily to permit non-GPS position sources such as optical flow or vision. Actual broadcasts may still require a valid real-world position.
3: LockUASIDOnFirstBasicIDRx: Do not enable this option during testing. Once the module begins broadcasting, the UAS ID will be permanently locked and cannot be changed. Enable this option only for production firmware.
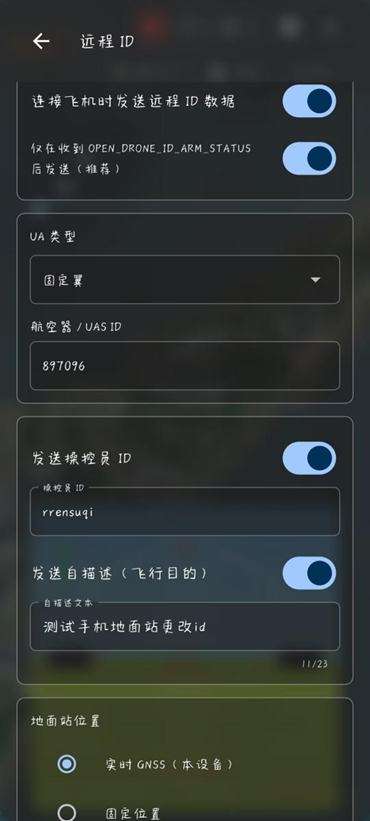
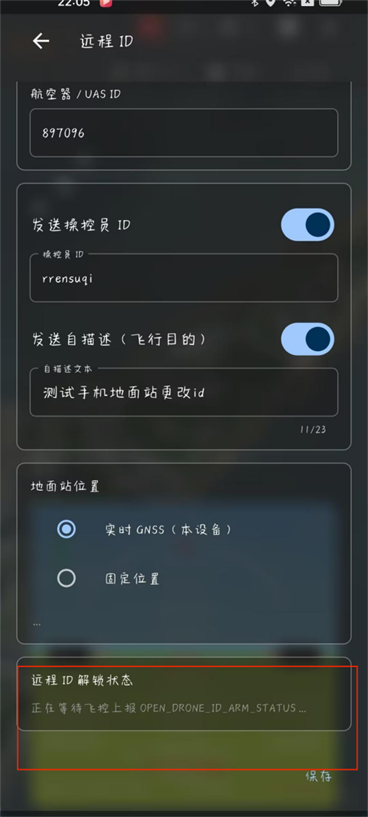
Operation 2.1 On the Remote ID screen, enable the required options as shown, or adjust them as needed. Use this screen to configure the aircraft ID, Operator ID, and purpose of flight. 2.2 When the Remote ID status in the red box is ready, the text turns green. RID configuration is then complete, including the aircraft ID and Operator ID changes.
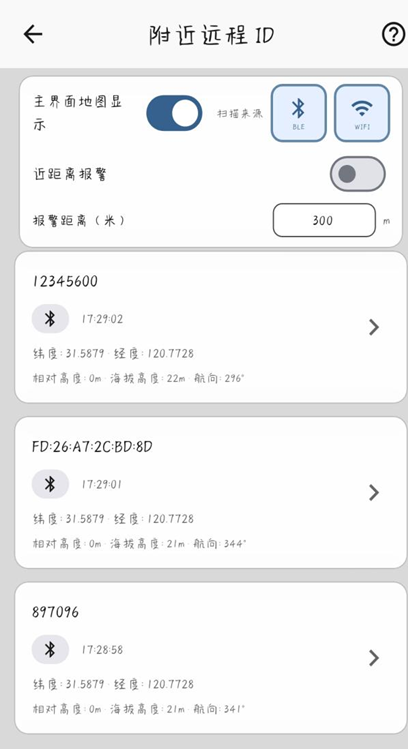
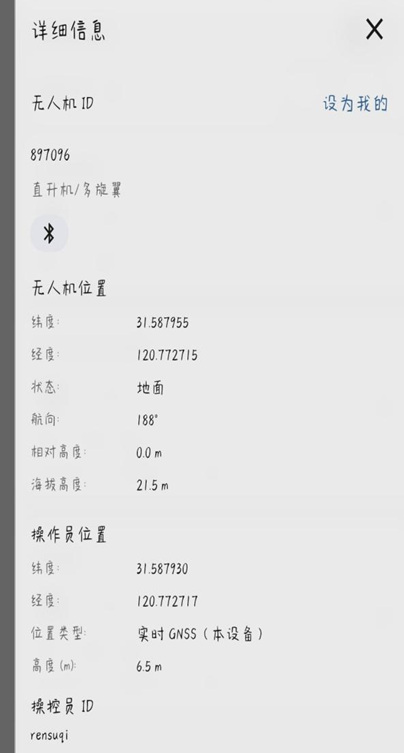
Functional Verification 1. Select Nearby Remote IDs and wait 5 minutes. Select the configured ID to view its details.