Basic Configuration and Tuning
2.1. Section 1: Ground Station Connection and Resetting Default Parameters
Download the AGC configuration and tuning software from https://download.aeroeggtech.com/.
Do not connect a battery to the flight controller. Connect the flight controller to the USB expansion board with the SH1.0-6pin signal cable, connect the USB expansion board to the computer with a USB Type-C data cable, and then open the AGC software.
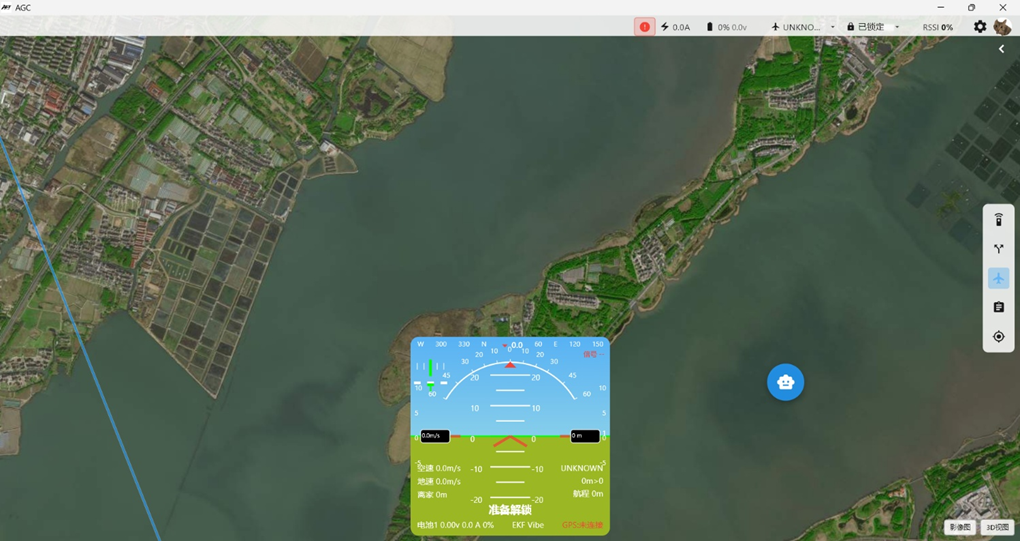
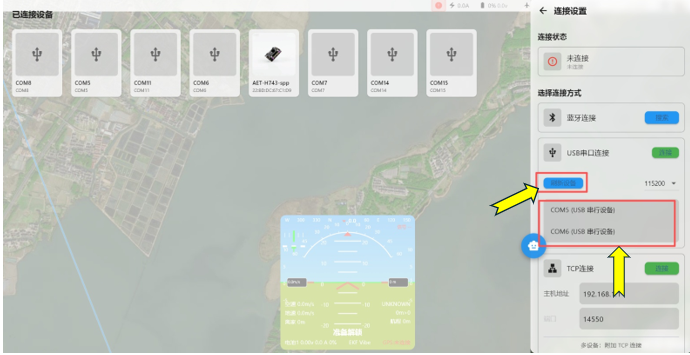
After connecting the flight controller to the computer, select its port in the upper-right corner of the AGC software and click "Connect", as shown below:
Wait several seconds for the AGC progress bar to complete.
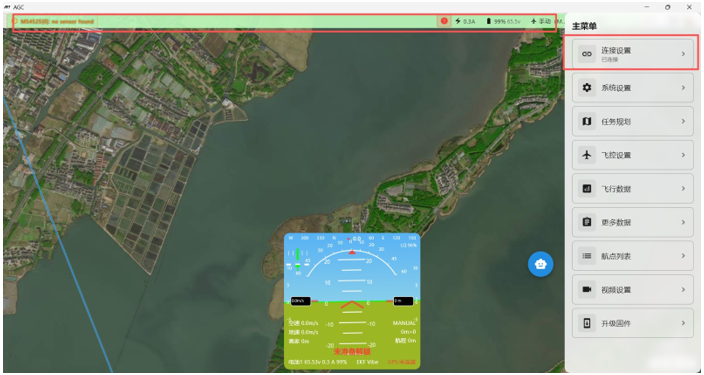
Rotate the flight controller without disconnecting it. If the flight view in the upper-left corner of the AGC software rotates accordingly, the connection is successful.
Common issue: The USB COM port is not listed in AGC.
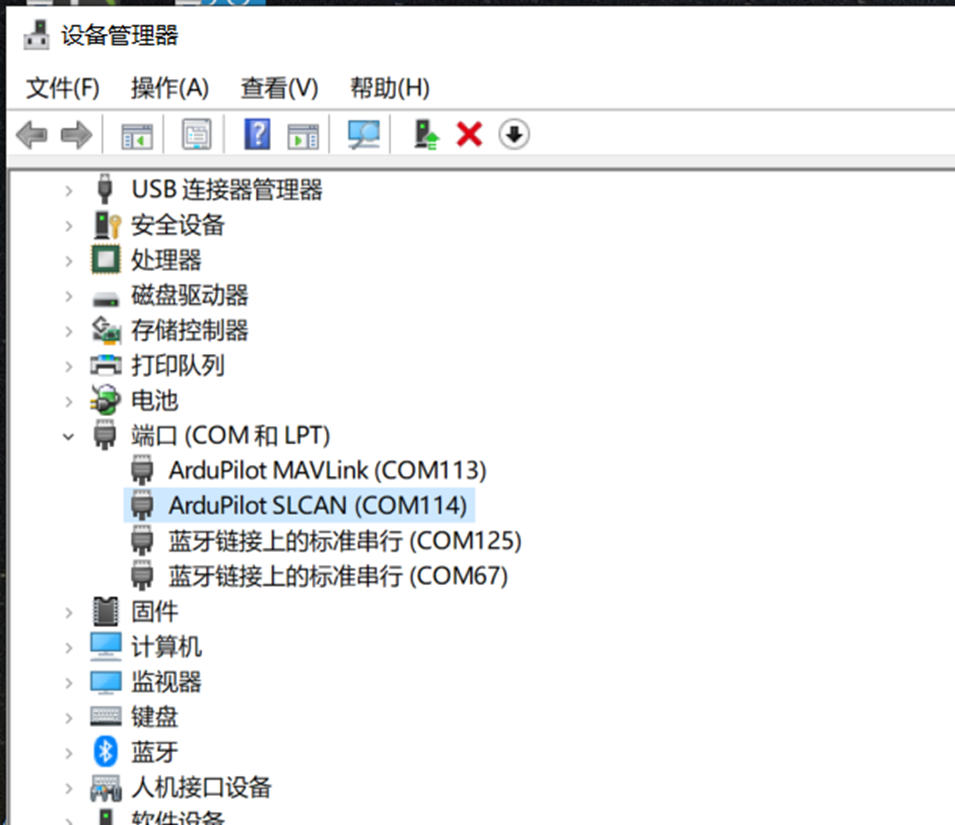
If the flight controller COM port does not appear in the AGC port drop-down list after connecting the USB Type-C cable, verify that the computer recognizes the flight controller driver and has assigned a COM port.
Check the Ports section in Windows Device Manager. If no port number is assigned, install the appropriate driver.
The figure below shows an overview of the first configuration page.
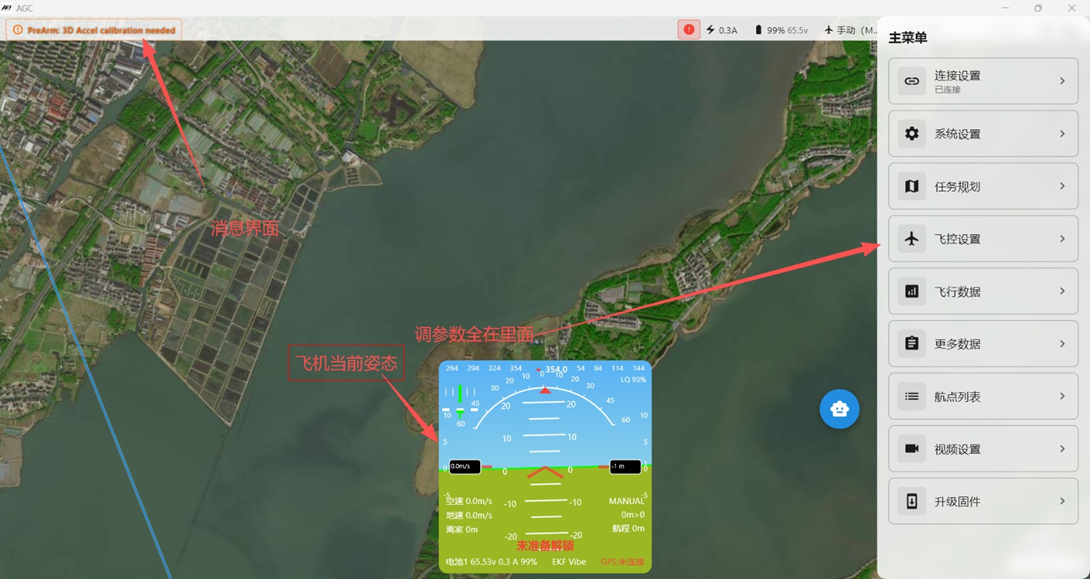 Note: For VTOL fixed-wing aircraft using an AeroEgg 21700 6S1P battery, full voltage is 25.2V (4.2V per cell), the recommended landing voltage is 21V, and 19.2V (3.2V per cell) is a severe over-discharge condition. With 21700 cells, begin the landing procedure at approximately 3.2V per cell and land as soon as possible because discharge capability drops sharply below 3.2V per cell.
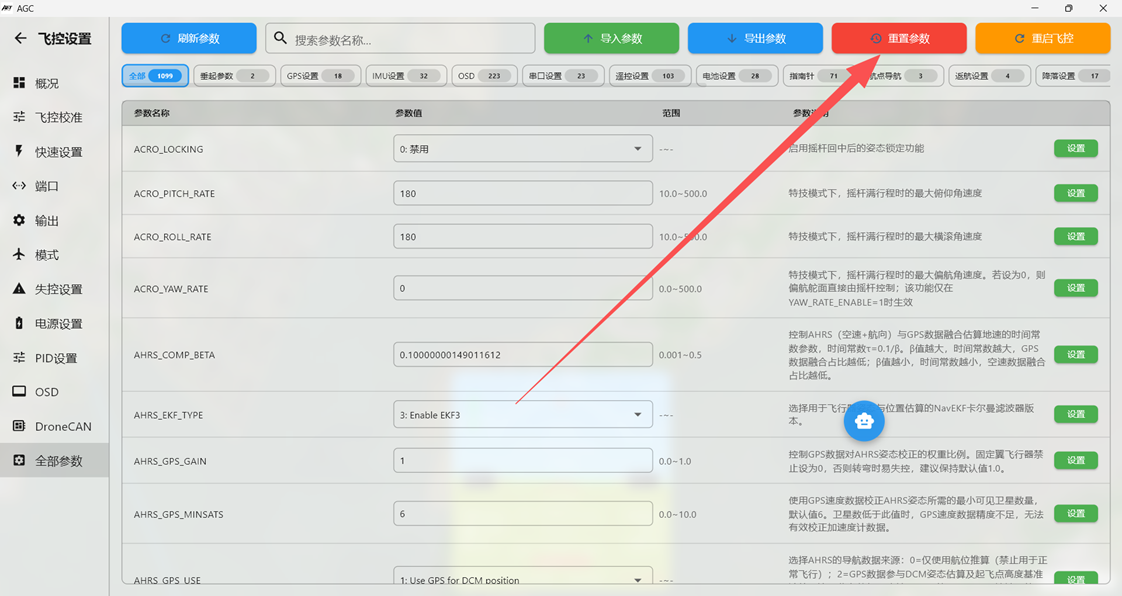
After flashing new firmware, it is strongly recommended to perform "Reset Parameters to Default" once.
Open "Settings" in the upper-right corner, select "Full Parameter List", and then select "Reset Parameters to Default". Confirm the reset when prompted by the ground station.
2.2. Section 2: Accelerometer and Level Calibration
Keep the flight controller connected to the computer through USB and disconnect the battery. Select [Flight Controller Calibration] -- [Accelerometer Calibration] -- [Six-Side Calibration].
Click "Calibrate Accelerometer" and follow the software prompts to position the flight controller on each of its six sides. Complete all six orientations as shown below.
Place the bottom side down, as shown below:
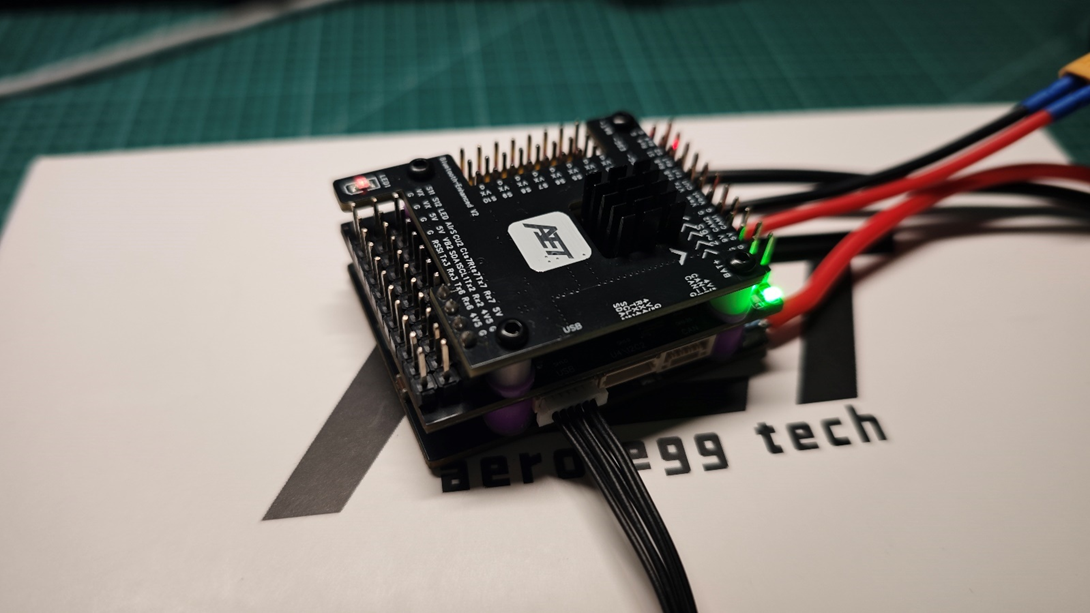
After positioning the flight controller, click Next.
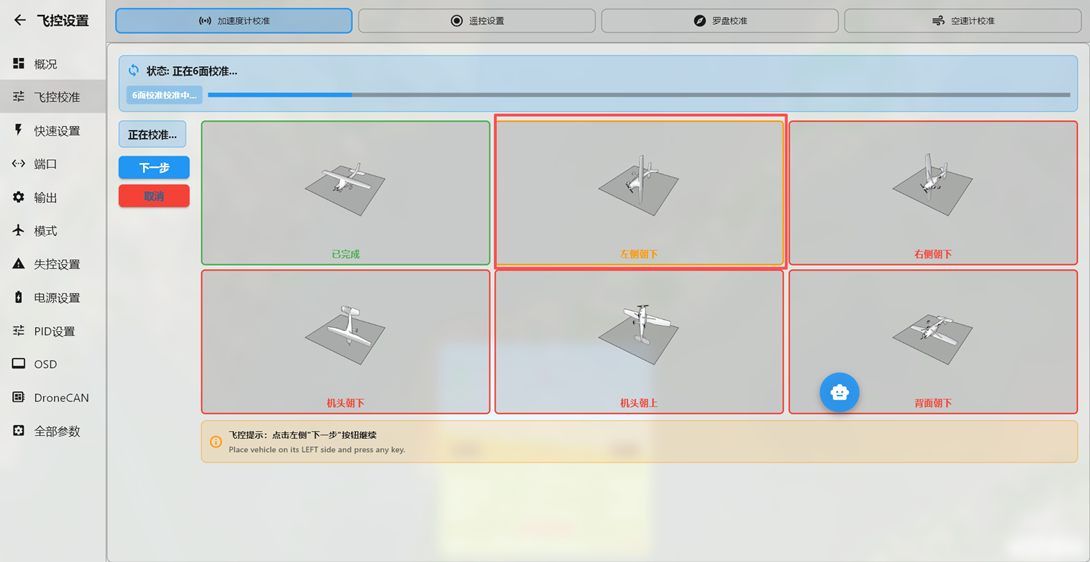
Prompt: Place the left side down and click Next.
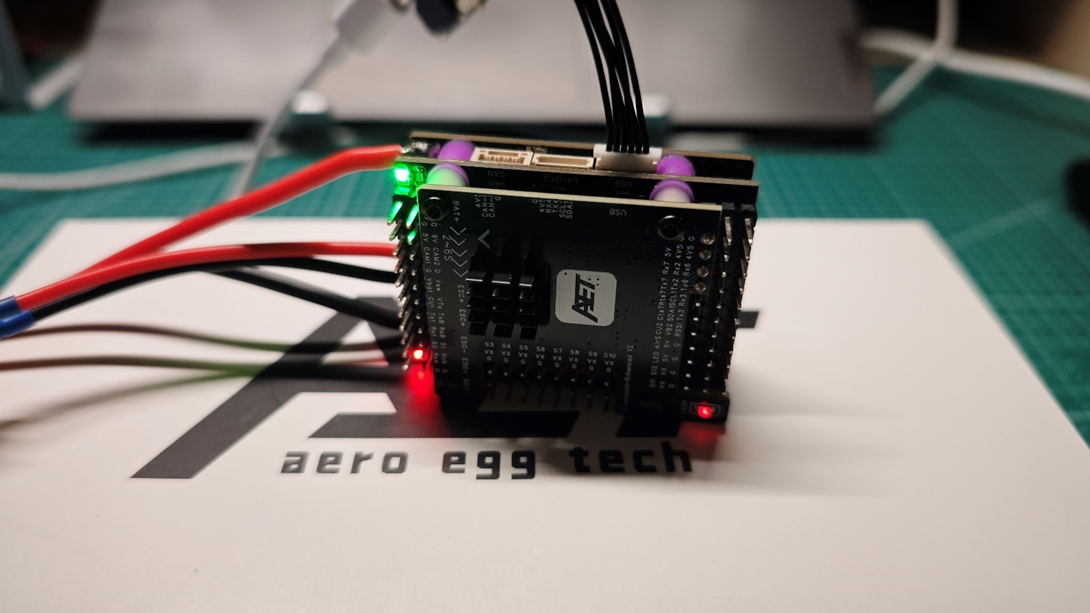 After positioning the flight controller, click "Click Next When Done".
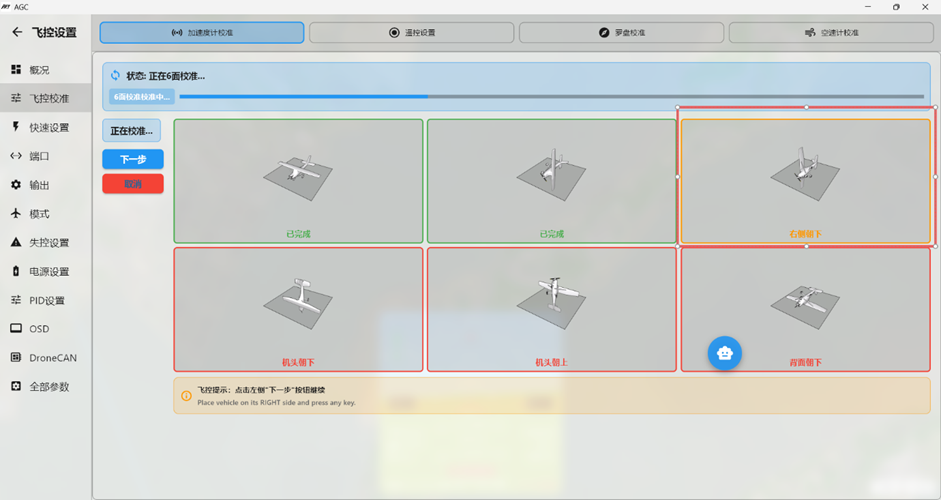
 Prompt: Place the right side down, as shown below:
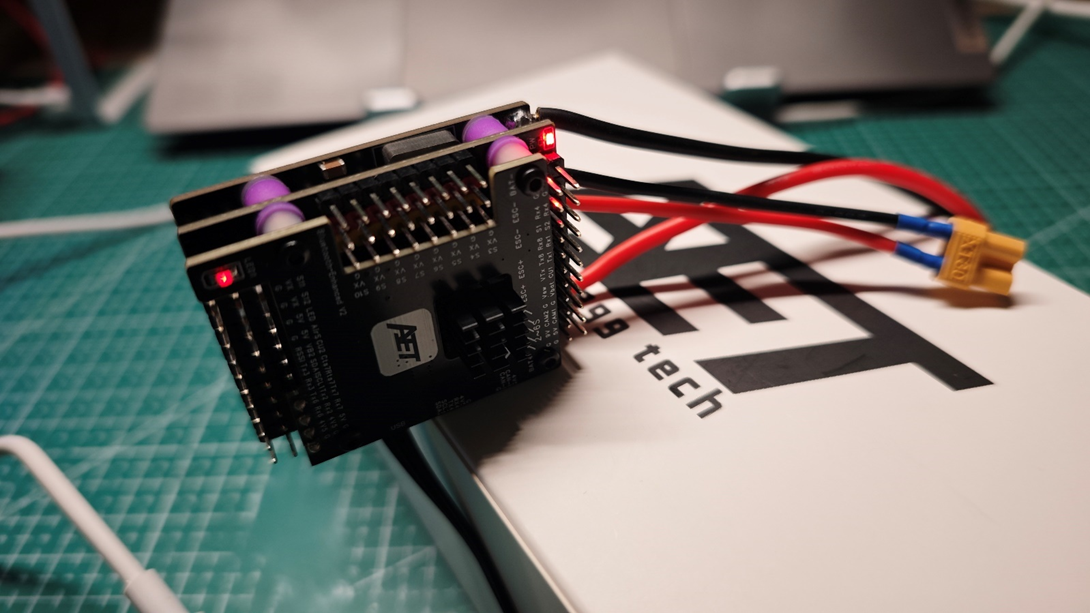 After positioning the flight controller, click "Click When Done".
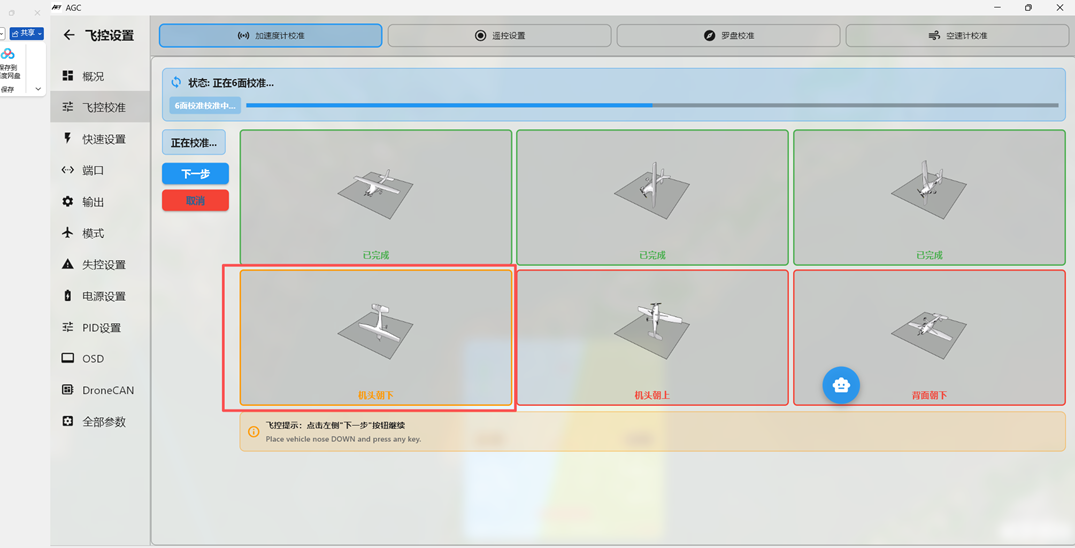 Prompt: Place the front side down, as shown below:
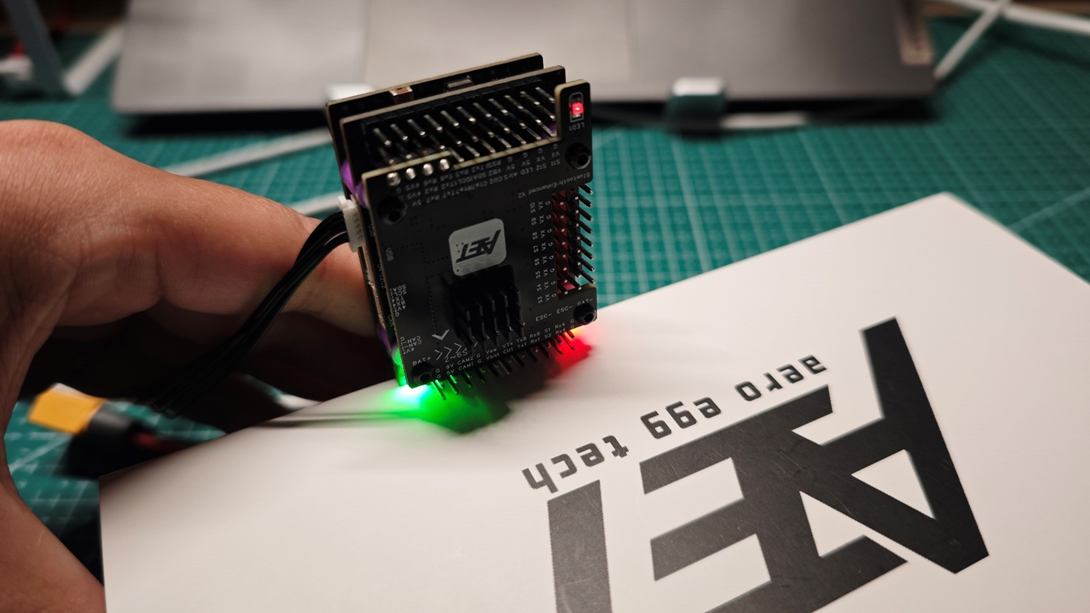 After positioning the flight controller, click "Click When Done".
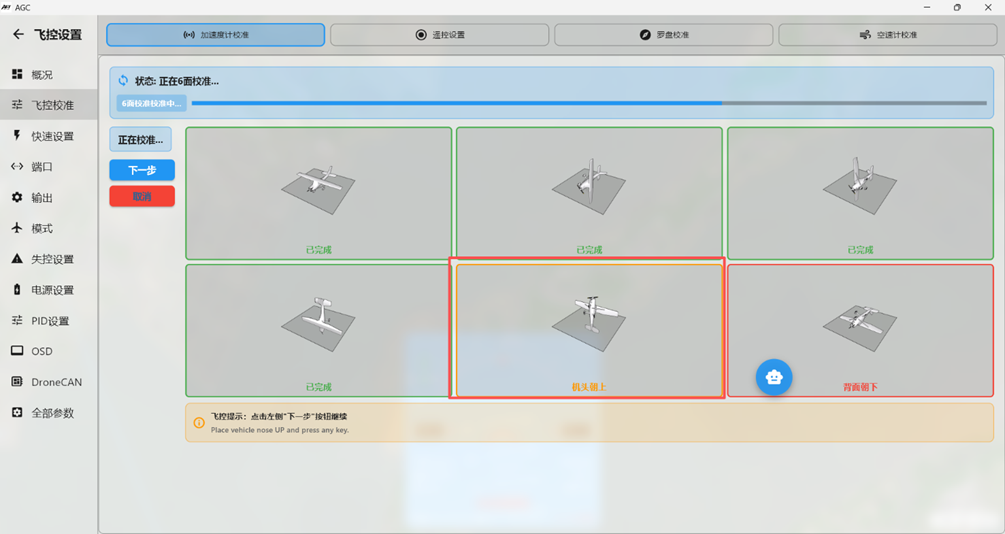 Prompt: Place the flight controller upright, as shown below:
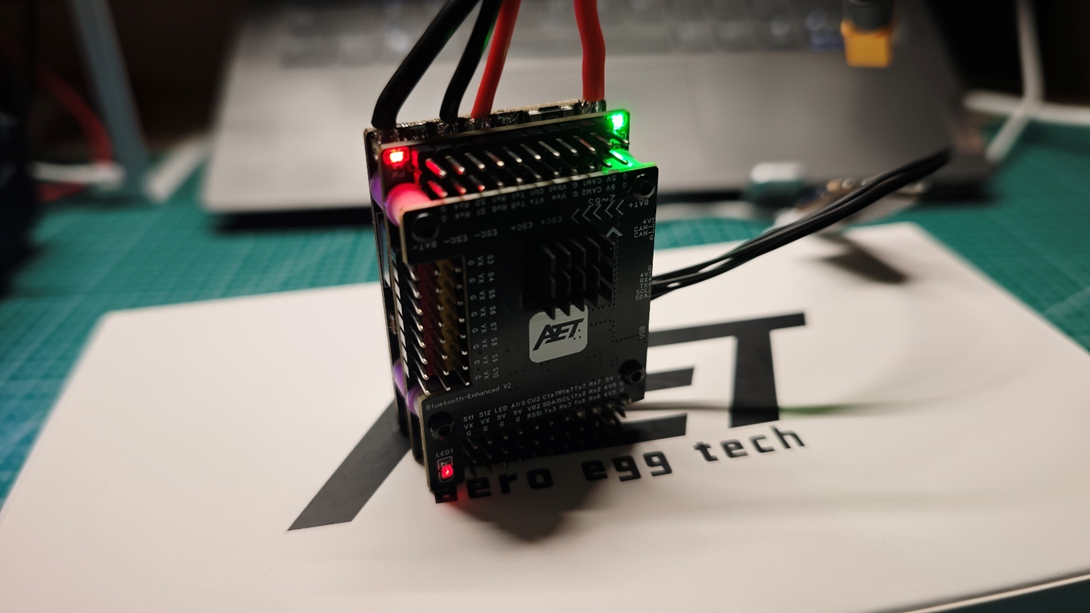 After positioning the flight controller, click "Click When Done".
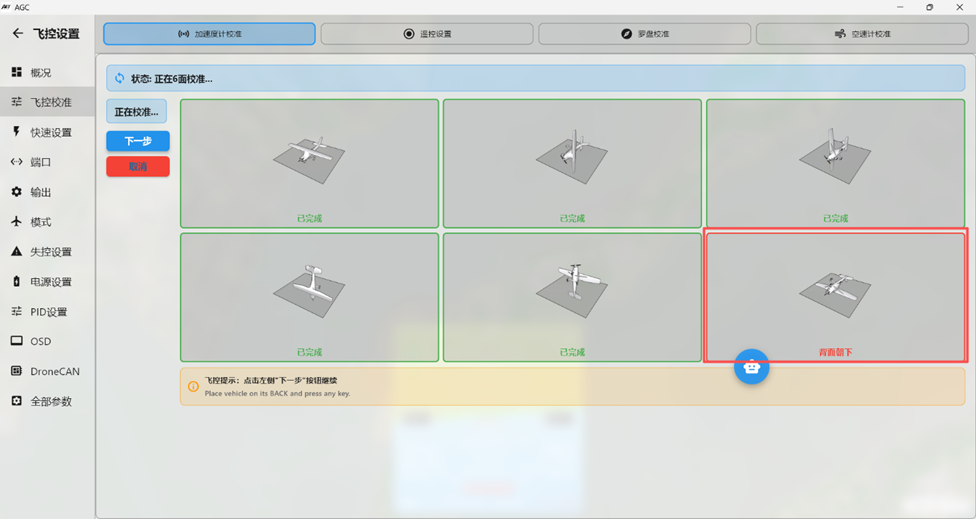 Prompt: Place the top side down, as shown below:
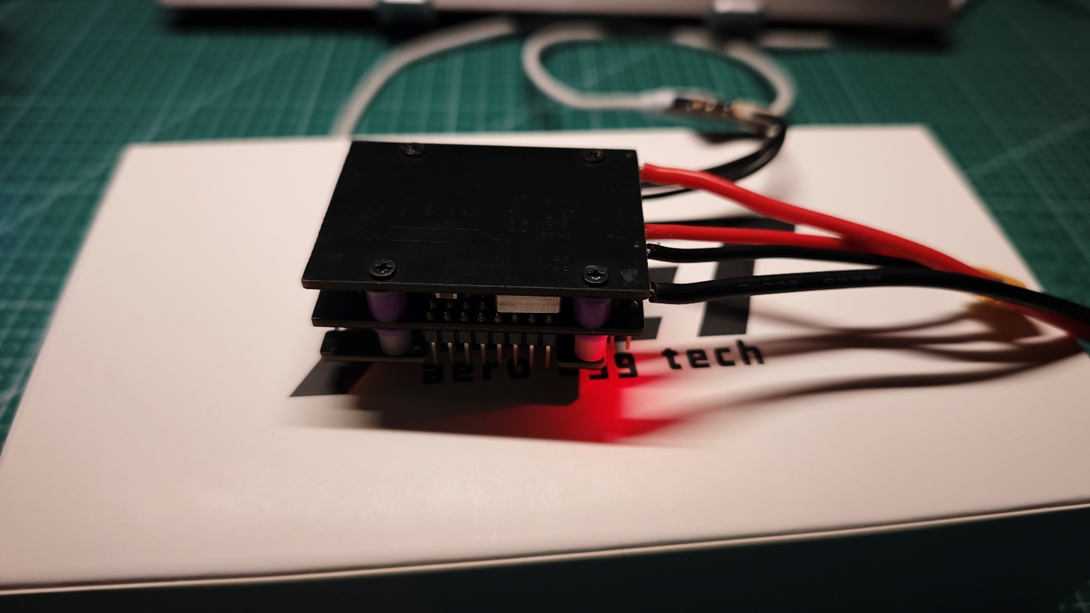 After positioning the flight controller, click "Click When Done".
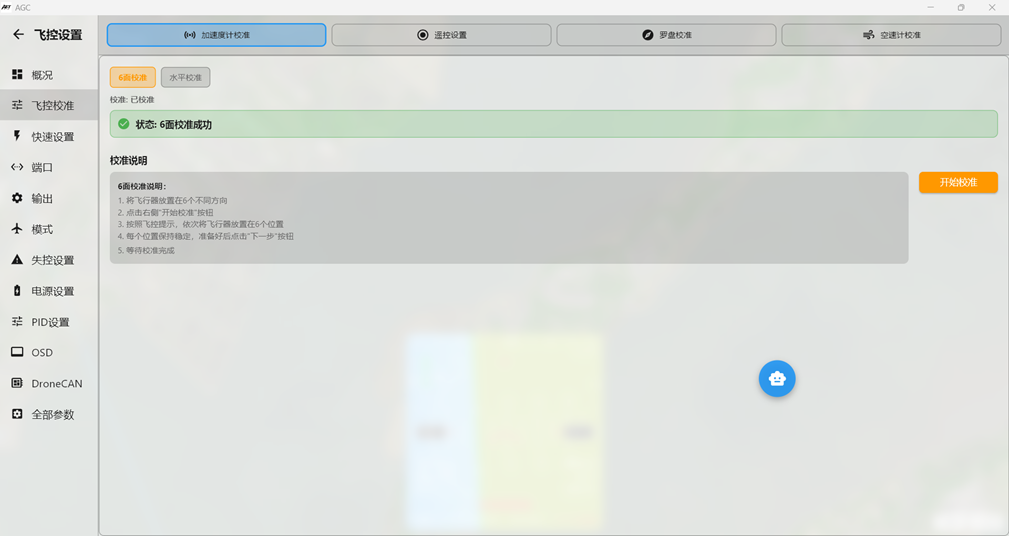 Calibration is complete.
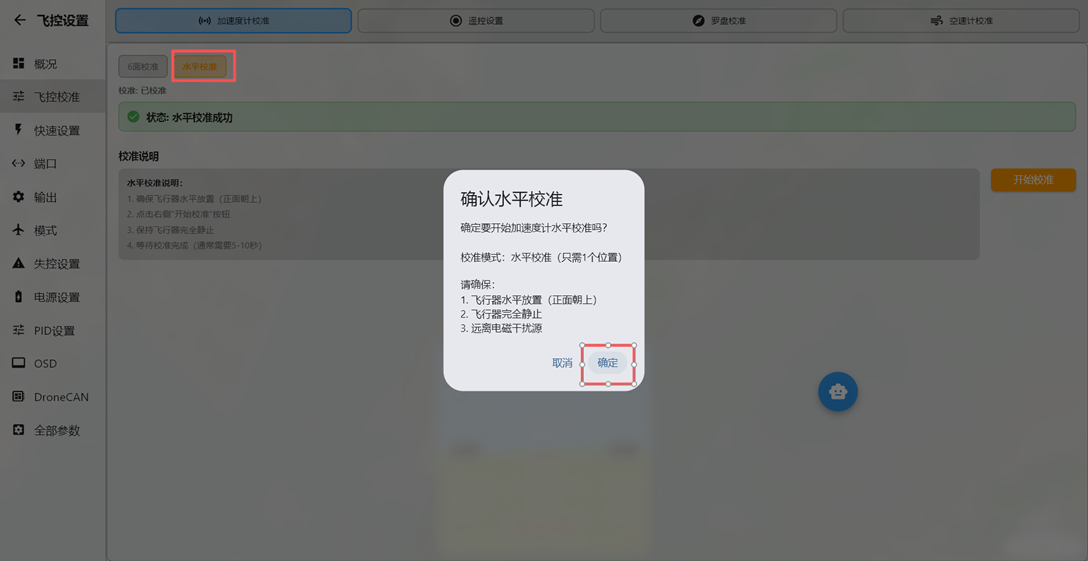
For level calibration, install the flight controller in the aircraft, place the aircraft on a level surface, and perform one "Calibrate Level" operation.
Calibration is complete.
For level calibration, install the flight controller in the aircraft, place the aircraft on a level surface, and perform one "Calibrate Level" operation.
2.3. Section 3: Compass Calibration
Prerequisite 1: Connect the GPS to the flight controller through the I2C parallel interface or dedicated GPS interface. Do not connect the battery. Connect the flight controller to the computer with a USB Type-C data cable.
Prerequisite 2: Align the GPS arrow with the flight controller arrow so both point toward the nose, and maintain this orientation after installation. If practical, secure the two units together with cable ties or cord during calibration.
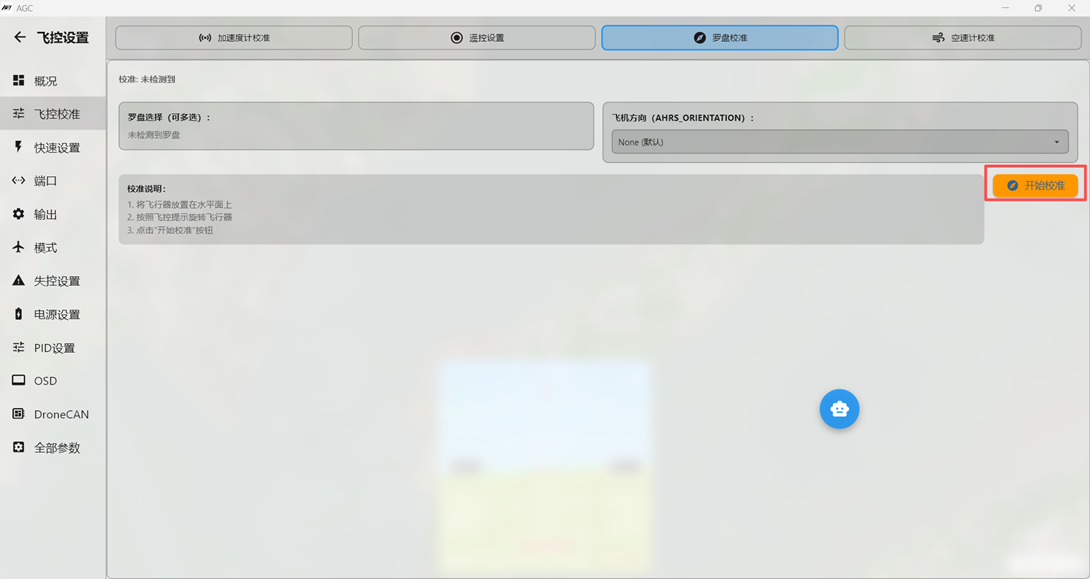
Open the Compass screen. Refer to the manual for detailed GPS and compass installation instructions. After selecting compass calibration, a progress bar appears. Rotate the aircraft around every axis until the progress bar is completely filled.
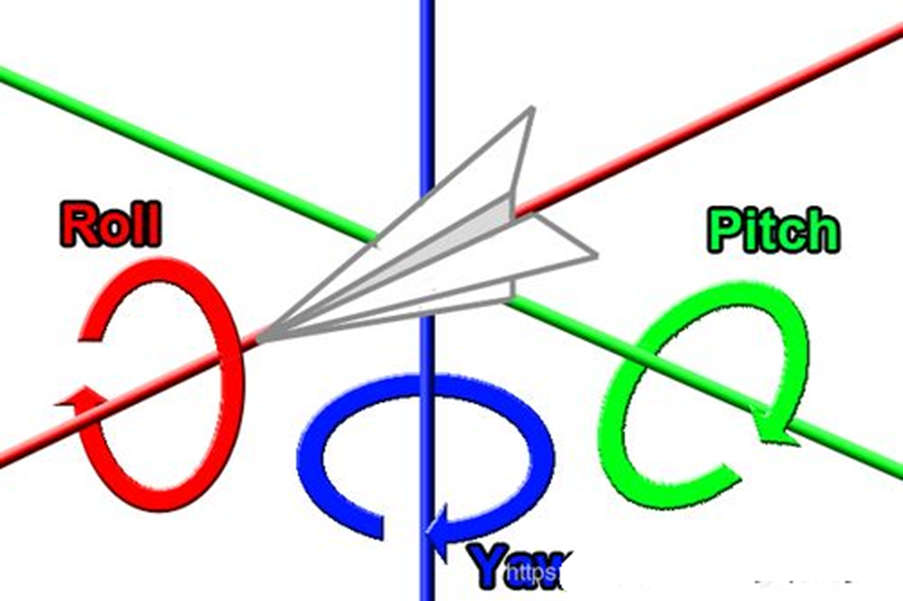 Install the flight controller and GPS correctly on the airframe before performing compass calibration.
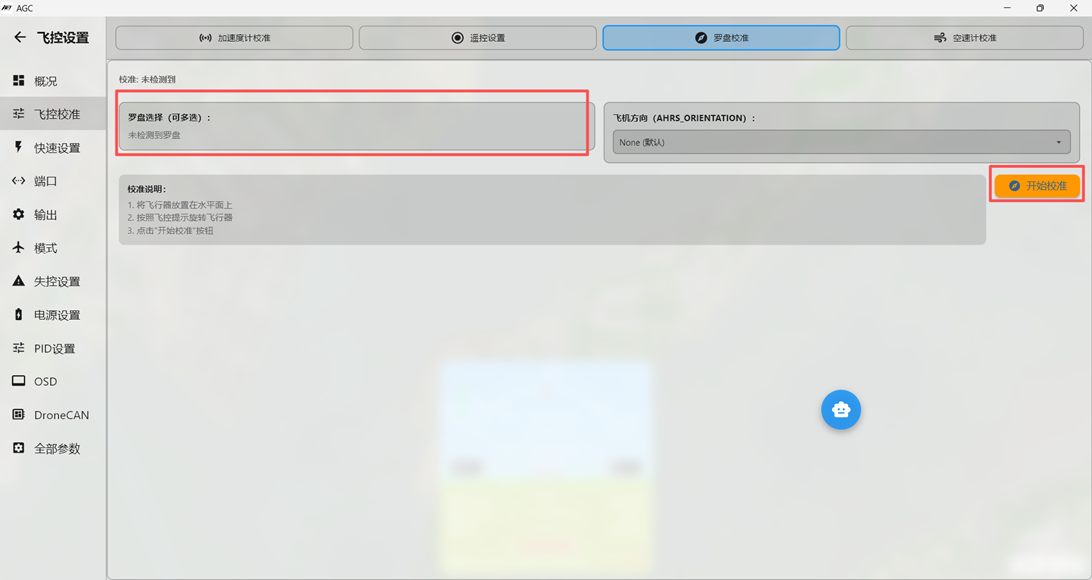 Note: The demonstration above does not have a GPS installed.
Perform compass calibration outdoors, or place the GPS outside a window, after at least eight satellites have been acquired. Start compass calibration and rotate the aircraft through 360 degrees around all axes. When the progress bar reaches 100%, calibration is complete. Restart the flight controller.
Important: For a VTOL fixed-wing aircraft, the compass must be enabled and calibrated correctly before takeoff. Otherwise, stability in multirotor mode will be poor, control will be difficult, and loss of control may occur.