Radio Transmitter Calibration
Flight Controller Calibration — Radio Calibration — Start Calibration
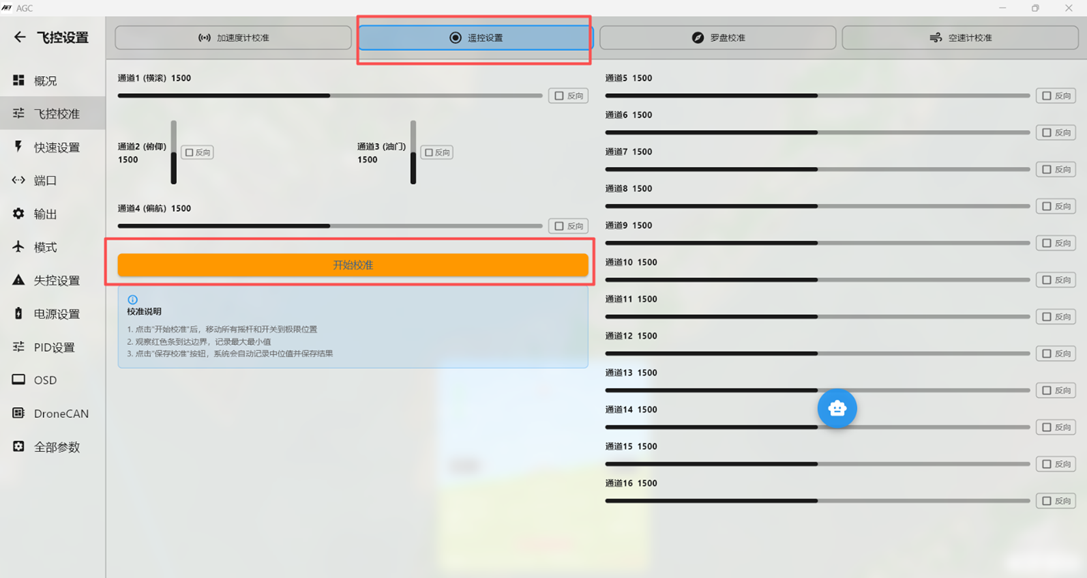
Calibration Procedure
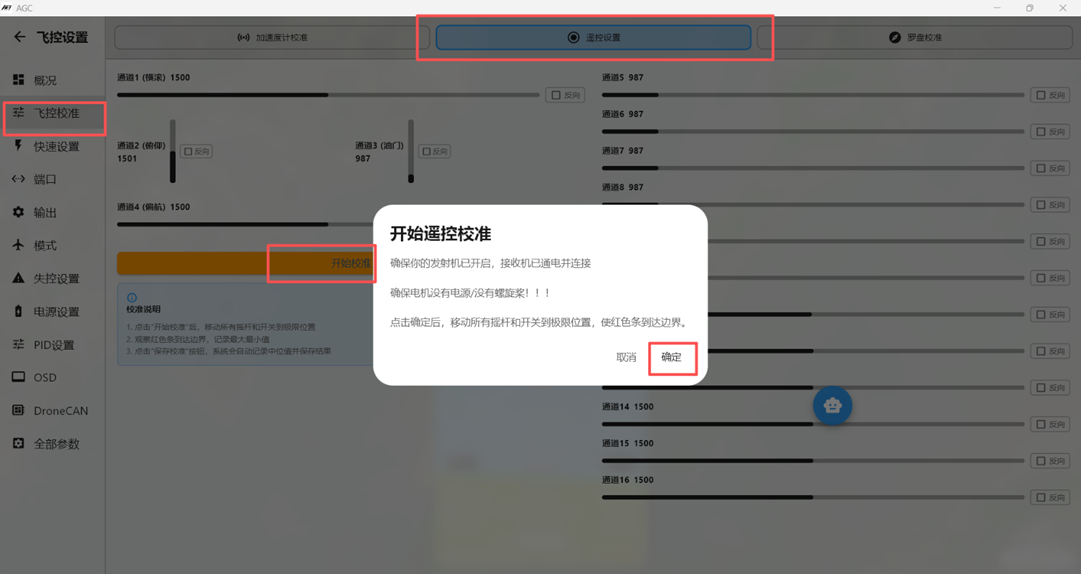
If the receiver is wired correctly and the corresponding serial port is configured correctly, all channels will be visible and will respond when the radio transmitter controls are moved.
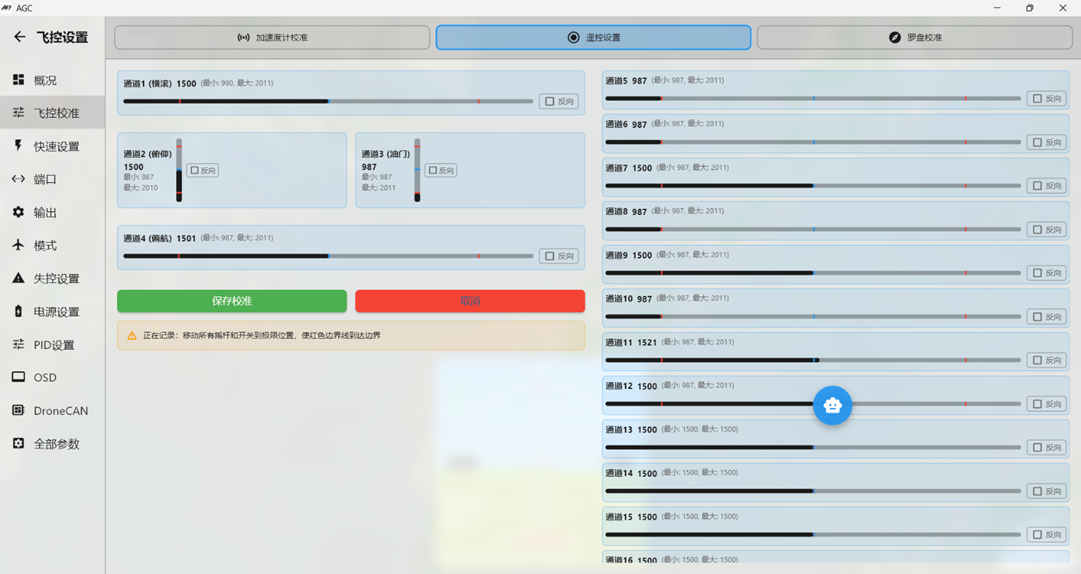
Move every available radio transmitter control, including both sticks, throttle, knobs, and switches, through its full range. Hold each at its endpoint briefly, then return all controls to their center or normal positions.
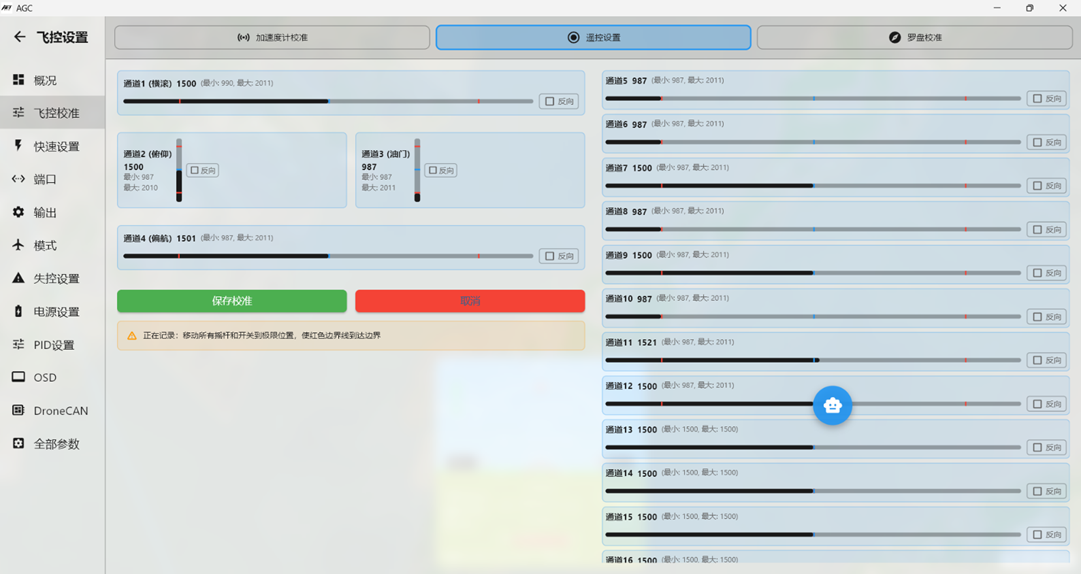
Click OK. A dialog displays the minimum and maximum input values recorded for each channel. Confirm by clicking OK, as shown below:
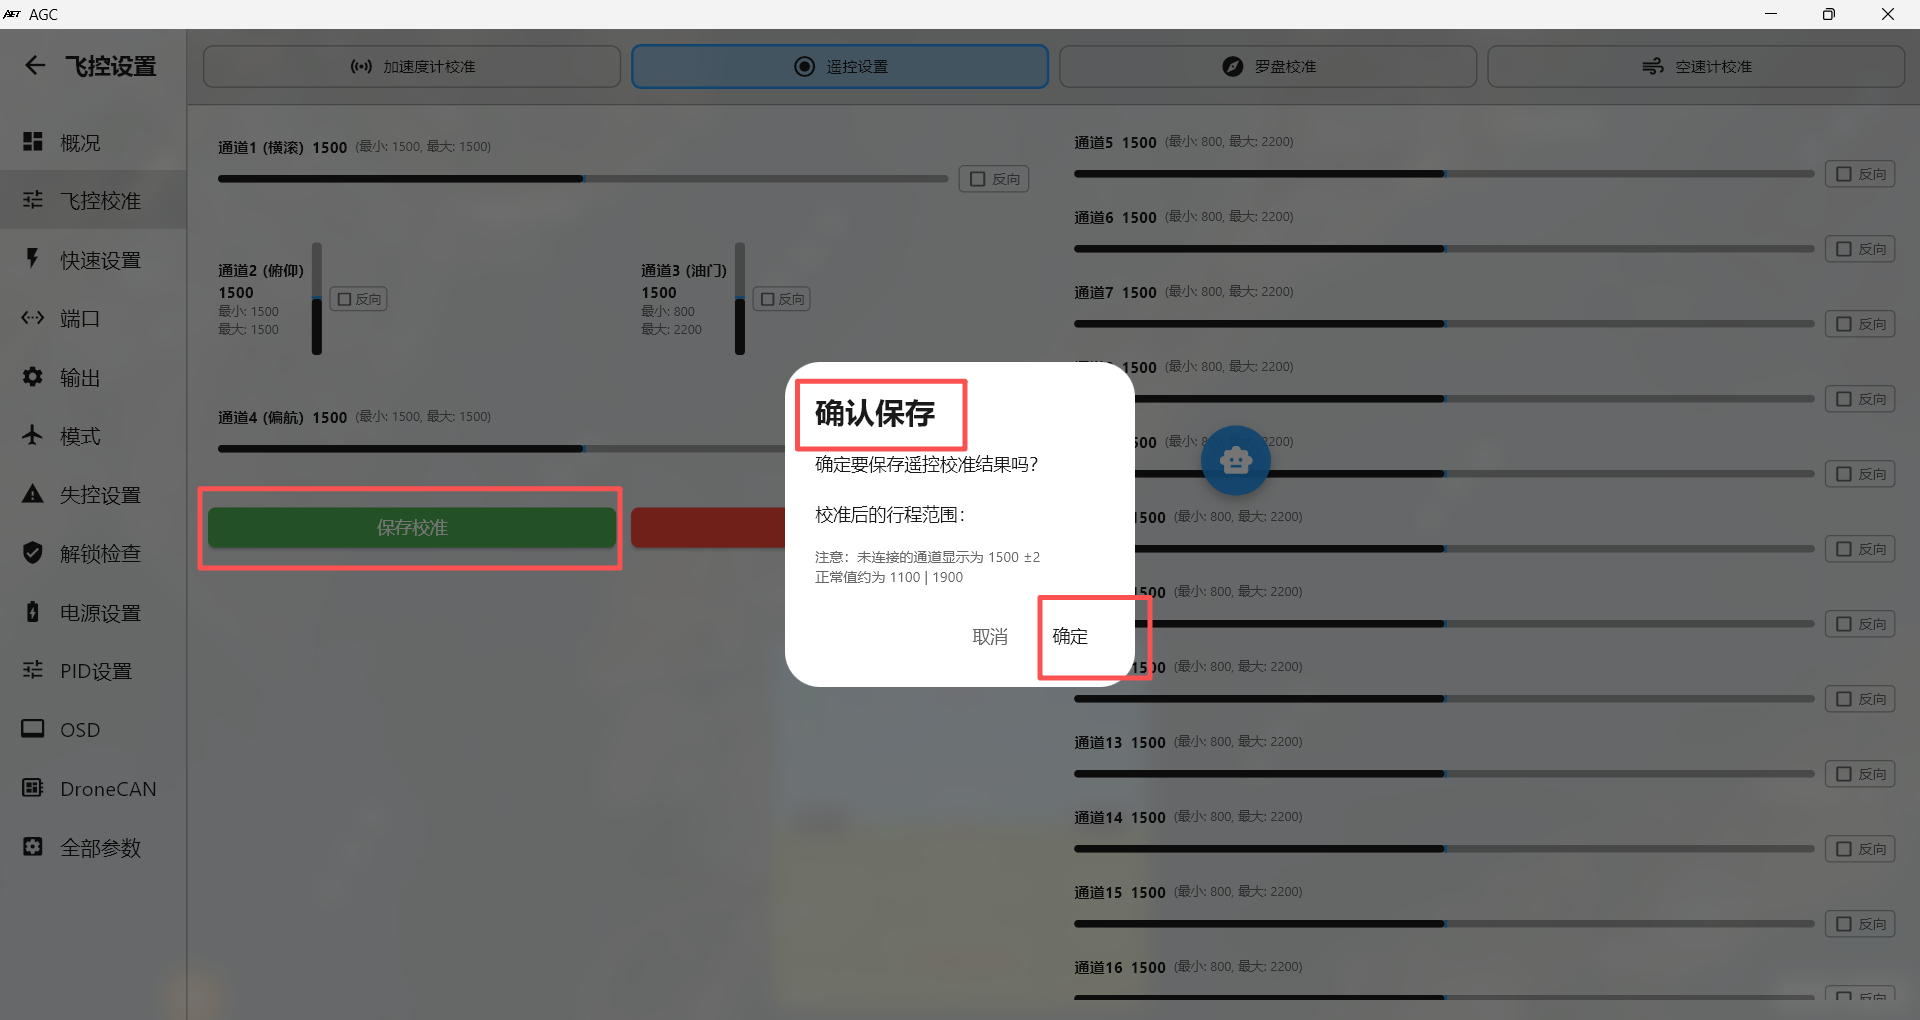 Radio transmitter calibration is now complete.
2.7. Section 7: Verifying the GPS Module Connection
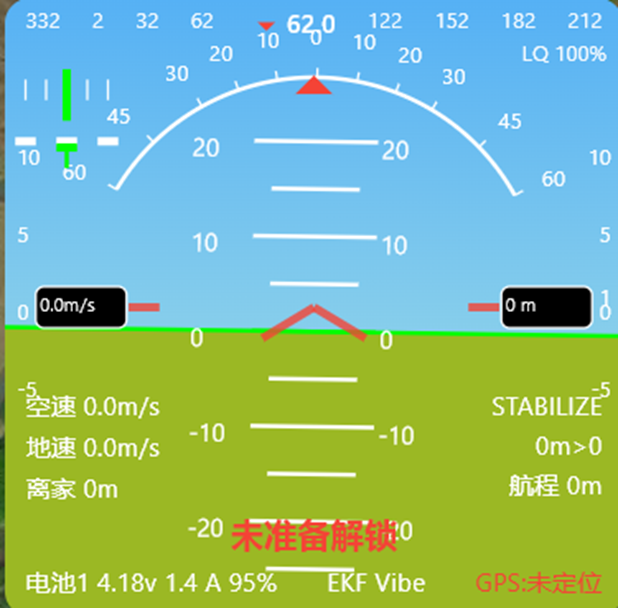
When the GPS wiring and serial-port settings are correct and the module is operating normally, the lower-right corner of the attitude display on the ground station home page shows the GPS state.
Before a position fix is acquired, "GPS: No Fix" is displayed in red. After acquiring satellites and a position fix outdoors, "GPS: 3D Fix" is displayed in white.
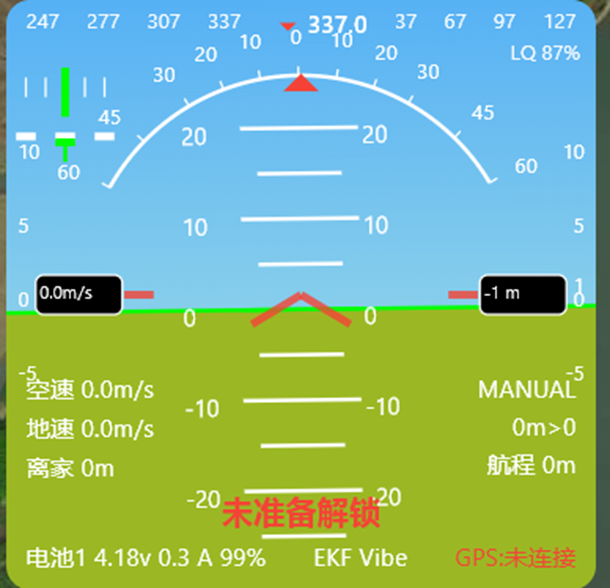
If the GPS wiring or serial-port settings are incorrect, or the GPS has a compatibility or hardware fault, the flight controller cannot detect it. The lower-right corner of the attitude display then shows "GPS: Disconnected" in red.
1.1. Section 8: Checking Flight Controller Orientation and Attitude Display
Note: The ArduPilot attitude display represents the first-person view from inside the cockpit, not an external third-person view.
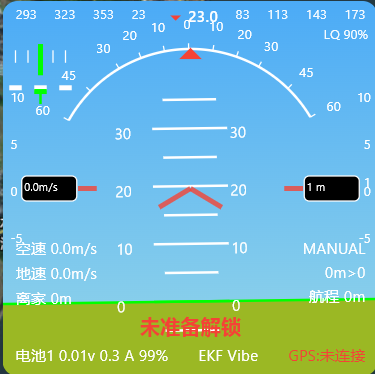
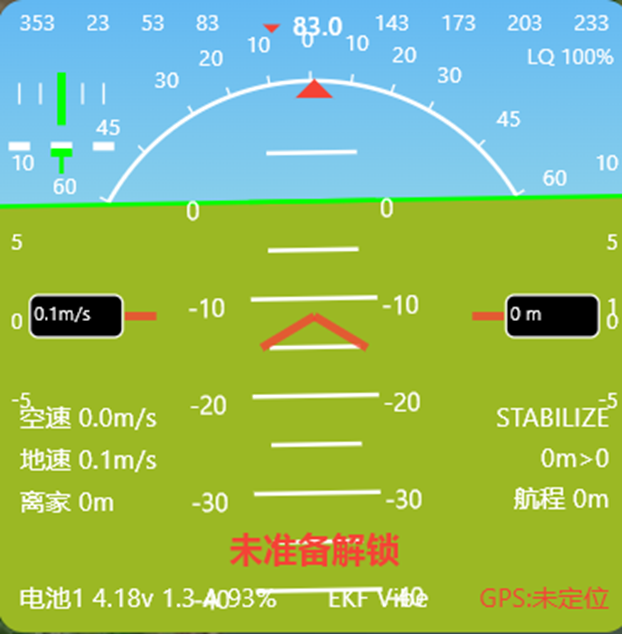
The blue upper area represents the sky, the green lower area represents the ground, and the boundary between them is the horizon.
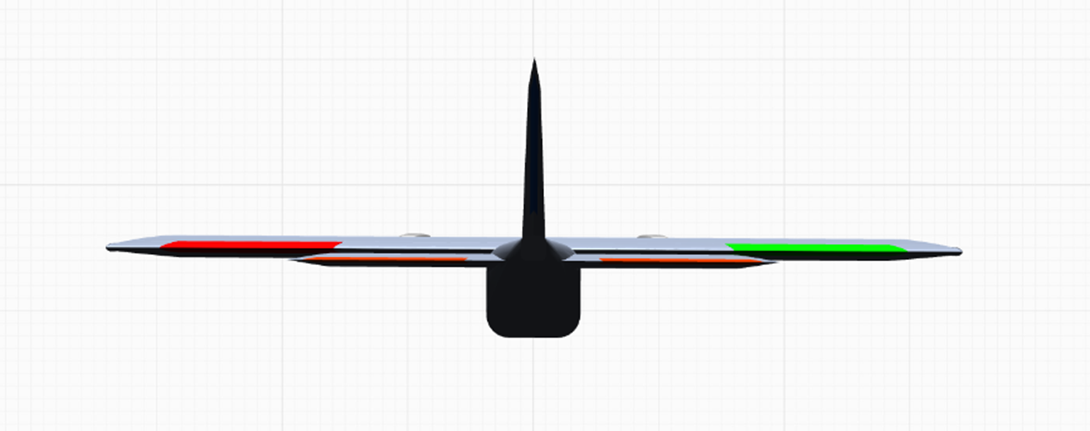
When the aircraft or flight controller pitches nose-up, more sky and less ground are visible. The attitude display should appear as follows:
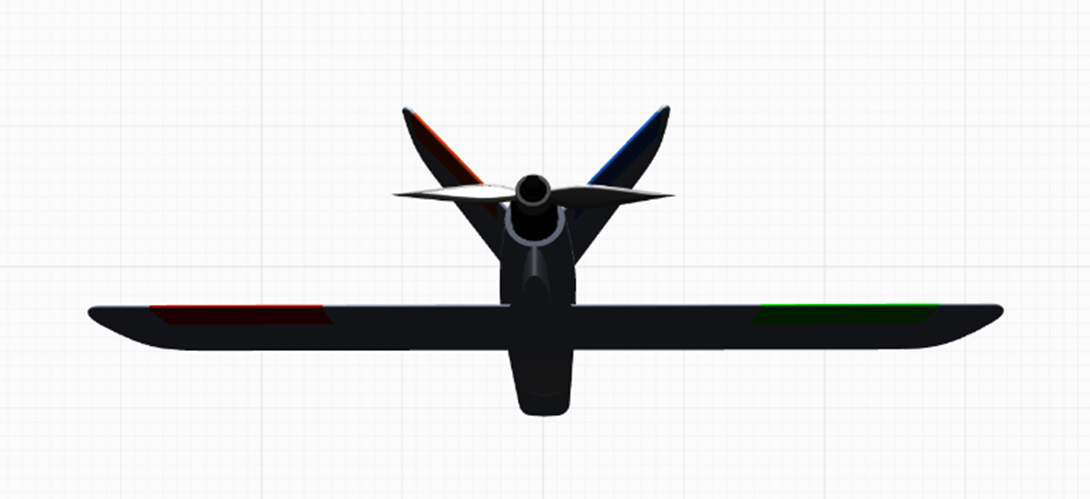
The corresponding aircraft attitude should be:
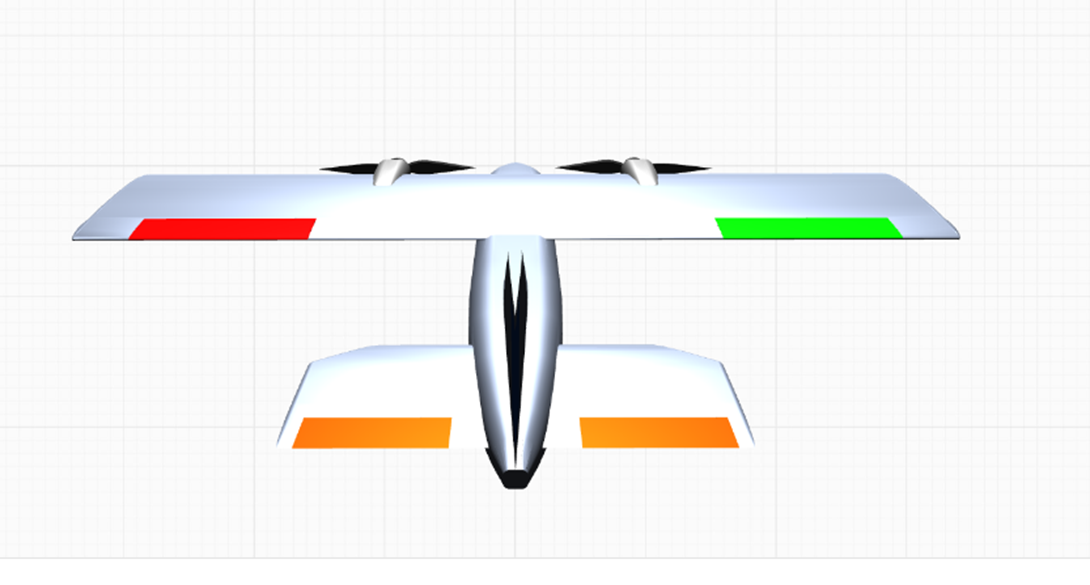
When the aircraft or flight controller pitches nose-down, less sky and more ground are visible. The attitude display should appear as follows:
The corresponding aircraft attitude should be:
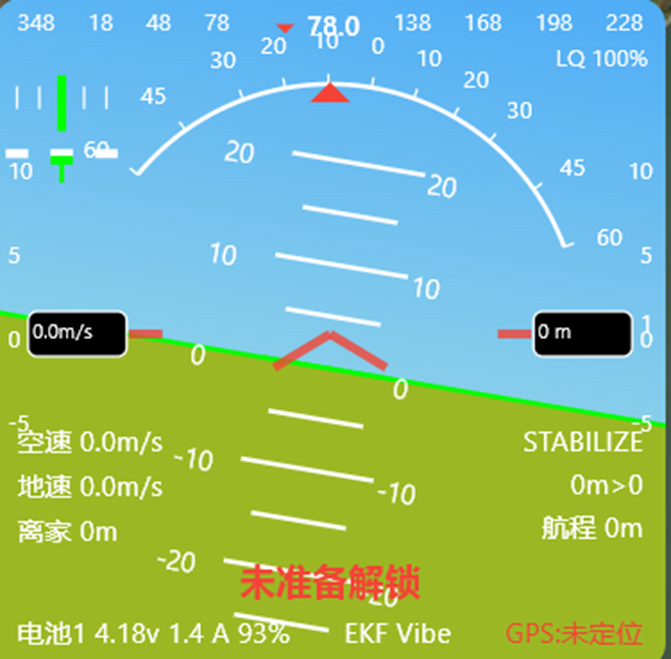
When the aircraft or flight controller rolls left, visualize the view from a cockpit rolling left and how the sky and horizon move across the window. The correct attitude display is shown below.
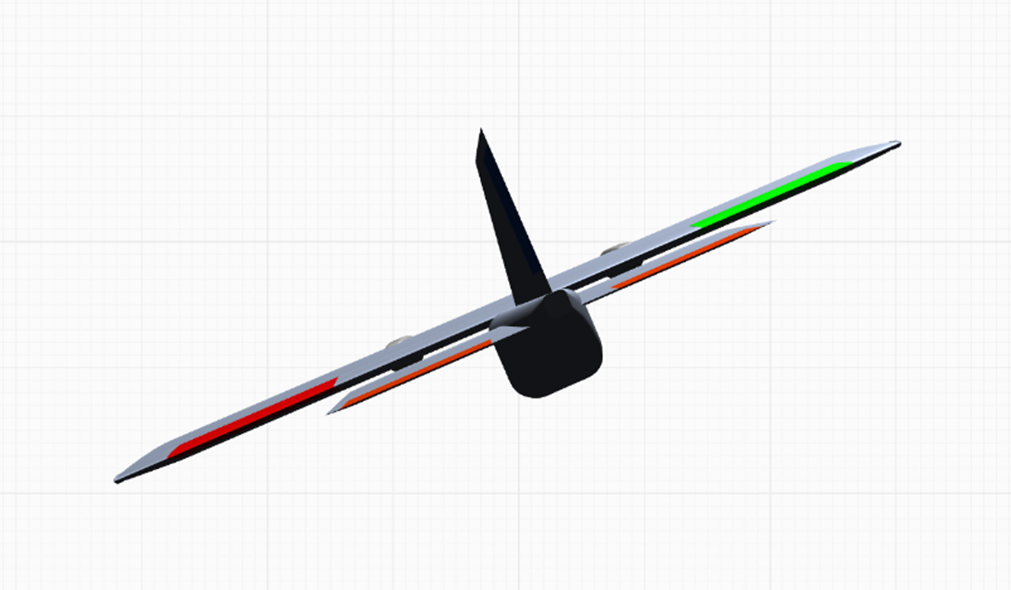
From an external third-person view, the aircraft attitude should be:
When the aircraft or flight controller rolls right, visualize the view from a cockpit rolling right and how the sky and horizon move across the window. The correct attitude display is shown below:
When the aircraft or flight controller rolls right, visualize the view from a cockpit rolling right and how the sky and horizon move across the window. The correct attitude display is shown below:
From an external third-person view, the aircraft attitude should be: